
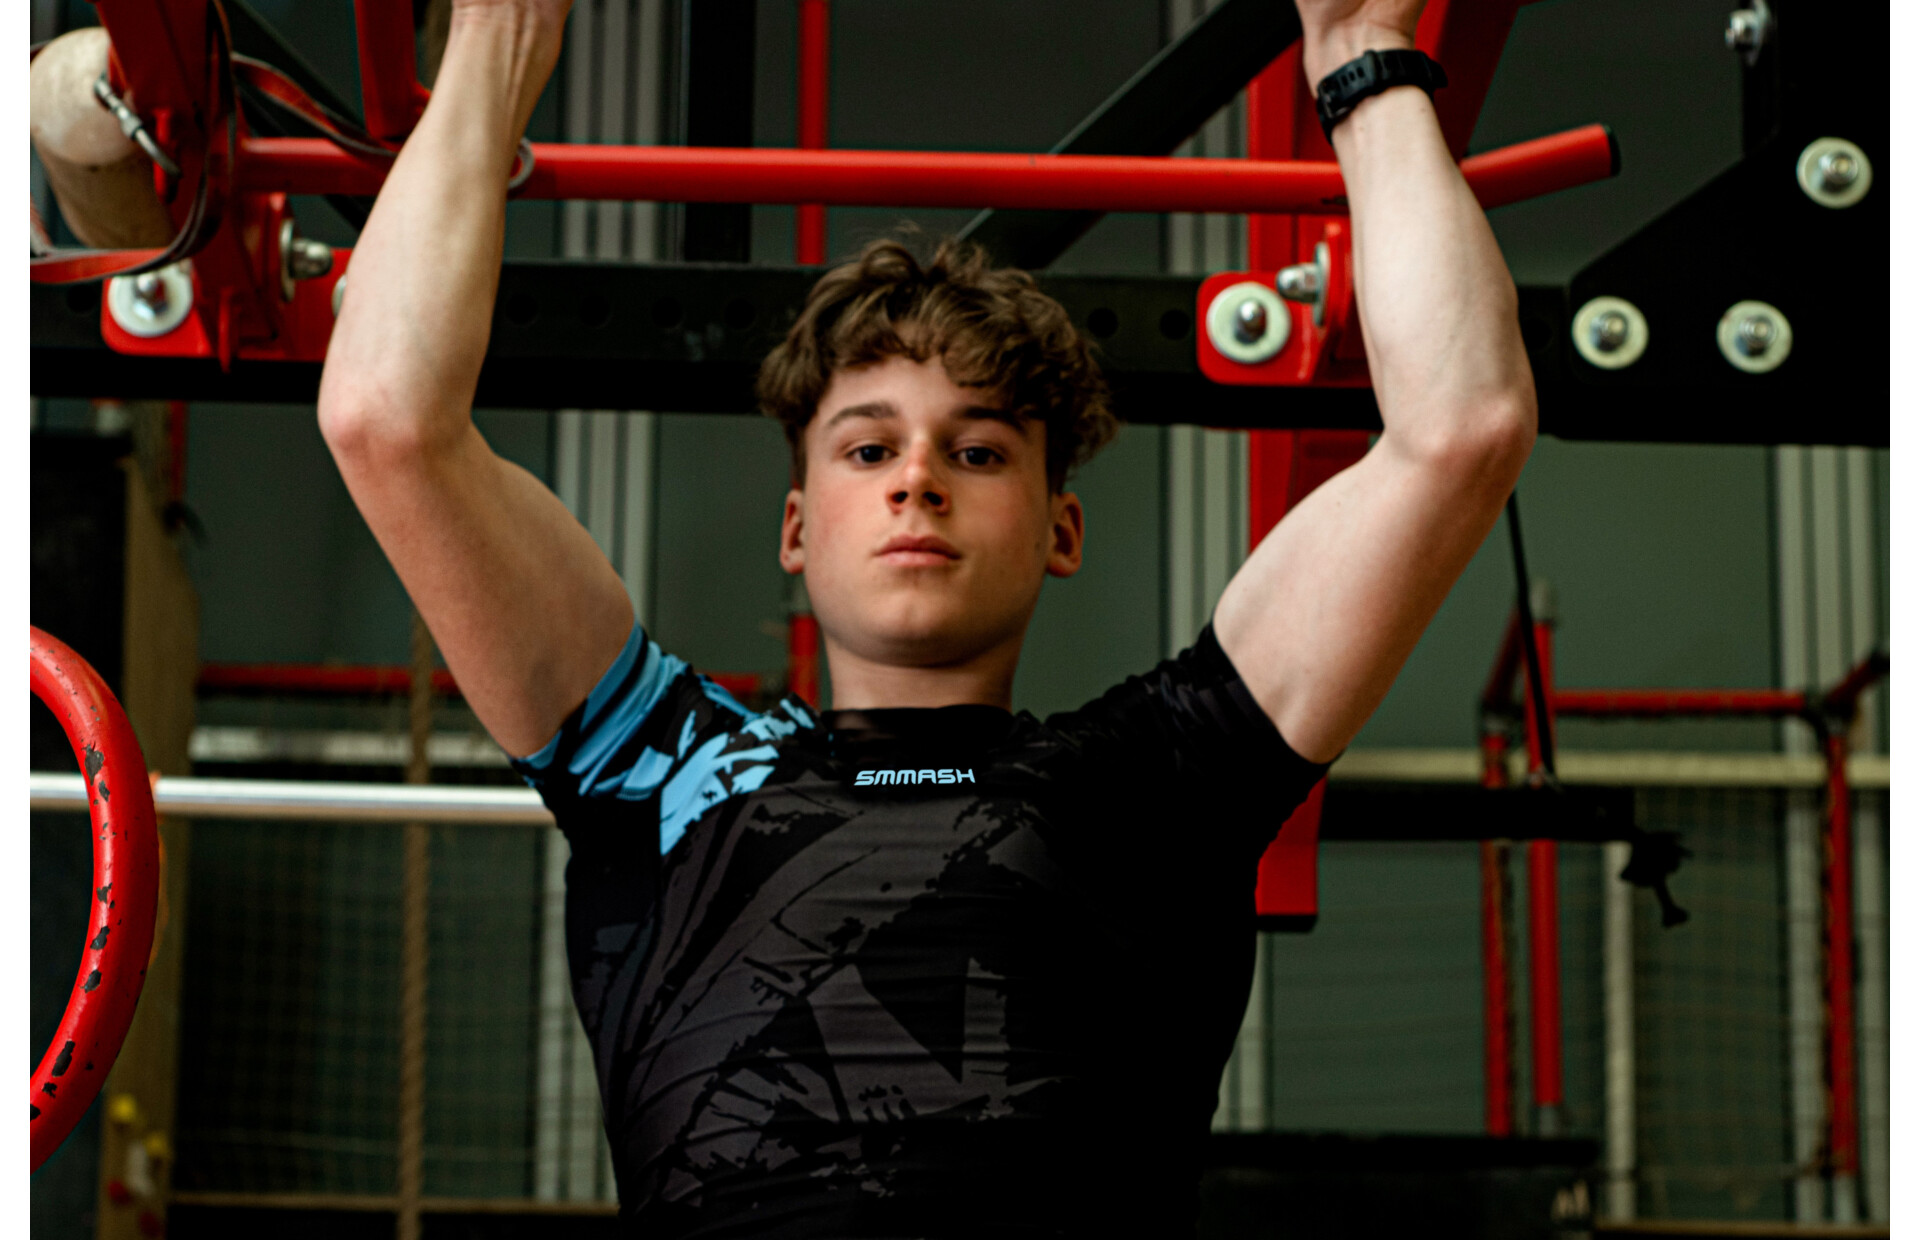
Pull-Ups - Technique, Learning and Training Plan
Can’t do even a single pull-up? Don’t worry - that likely puts you among around 80 or even 90% of the population. Pull-ups are one of the toughest, but also one of the most valuable bodyweight exercises you can do.
What should you know about them, including which muscles they work, how to choose your grip, what proper technique looks like and what equipment you need? You’ll find all the answers - and a bit more - below.
What are pull-ups and what do they do?
Pull-ups are a multi-joint strength exercise. They are usually performed using your own bodyweight, and not infrequently by more advanced athletes with extra load in the form of a weighted vest or plates attached to a special belt. They are a foundation of calisthenics training, which means they do not require extensive or expensive training infrastructure. In practice, a regular pull-up bar is enough.
They are considered one of the most effective exercises because they comprehensively build upper-body strength and physique, develop functional strength and a strong grip. They are demanding, but with sensible progression or support from other equipment - such as resistance bands - they are essentially accessible to everyone, including beginners.
Which muscles work during pull-up training? Pull-ups engage many muscle groups at once. The movement is mainly driven by the back muscles, supported by the teres muscles, traps and rhomboids. The biceps, abdominal muscles and the entire core also work hard, although more as support.
Types of grips used in pull-ups - overview and which one to choose
Interestingly, your grip choice shifts the emphasis between the back and the biceps. Still, the key is back engagement rather than “yanking” with your arms. You have 3 main options:
- overhand grip - palms facing away from you, the classic pull-up, which targets the back more strongly and is therefore slightly harder,
- underhand grip - palms facing towards you (easier and also puts more load on the biceps),
- neutral grip (hammer grip) - palms positioned parallel, friendly on the wrists and elbows (but it requires a multifunction pull-up bar),
- mixed grip (one hand overhand, the other underhand) - it does not load the muscles evenly, so it is used more often in exercises like the deadlift than in pull-ups.
Your final training results depend not only on hand position, but also on grip width. A narrow grip places more emphasis on the biceps, a wide grip targets the lats more strongly, and a medium grip gives the most balanced development and full range of motion.
If you are just starting with pull-ups, choose an underhand or neutral grip. Mainly because they are more forgiving of beginner mistakes and, above all, make it easier to see progress faster - in other words, to actually manage your first pull-up.
How to do them? Technique, basic equipment and accessories.
The basis is having a pull-up bar. You can choose from doorway bars (pressure-mounted or screw-mounted), wall-mounted bars, freestanding models and bars at places such as street workout parks. If you are just starting and know you may struggle to do even one proper rep, an invaluable learning aid will be a resistance band (a so-called power band).
Once you have that, start the exercise in a dead hang, with straight arms and your body aligned in one line. Begin the movement by activating your shoulder blades - pull them back and down - then brace your abs and glutes to stabilise your body. Next, pull yourself up by driving your elbows down towards your ribs until your chin clears the bar. Finally, lower yourself in a controlled motion until your arms are fully straight again. Lift yourself with the strength of your back, keep the movement smooth and controlled and, above all, do not swing or throw your body into the movement (this is called kipping, mainly used by Crossfit athletes).
How many pull-ups should you do? Benchmarks and reference points for amateurs and pros.
An approximate range by training level is fairly simple and looks like this:
|
Level |
Number of full reps |
|
beginner |
0 - 2 |
|
intermediate |
3 - 8 |
|
advanced |
above 8 |
Of course, the above is only a point of reference. Results naturally vary depending on sex, age and body weight. There is, however, one rule you should stick to without exception. Namely... only full reps count (chin above the bar at the top and arms fully straight at the bottom). Counting so-called half reps only artificially inflates your score, and in the end you are mostly cheating yourself.
Learning “from zero”. Where to start if you can’t do a single pull-up?
The steps below are a proven path from your first hang to your first full rep. Ideally, train about 3 times per week.
- #1 Dead hang - start with simply hanging from the bar. It builds grip strength and helps you get used to the position. Aim to hang for 20 - 30 seconds. Once that no longer feels challenging, move on.
- #2 Scapular activation - while hanging, learn to pull your shoulder blades down without bending your arms. This small movement initiates a proper pull-up.
- #3 Negative reps - jump into the top position (chin above the bar) with a slight hop, then lower yourself slowly, extending the eccentric phase to a few seconds. The slower, the better.
- #4 Band-assisted pull-ups - the final step before full independence. Use a resistance band to reduce the load in the hardest part of the movement. Over time, switch to lighter bands until one day you remove it completely and hit your first clean rep.
How to gradually increase the number of pull-ups you do? Methods and a sample training plan.
Doing your first - or even several PROPER - reps is really only the beginning of a long and rewarding pull-up journey. If you want to keep progressing steadily - meaning doing more and more pull-ups - below we describe proven methods that can help.
Regularity and patience play a key role in all of this. Progress comes to those who return to the bar consistently, not in random bursts once in a blue moon. A sample setup for beginners and intermediate trainees includes aspects such as:
- frequency - 3 training sessions per week, with a rest day between them,
- volume - 4 - 5 sets of pull-ups (or negatives or band work if you are not yet doing full reps),
- reps - around 60 - 70% of your maximum in a set, so you leave some reserve,
- rest - 2 - 3 minutes between sets for proper recovery,
- progression - add one rep when a given number stops being challenging.
Setting up your home pull-up space?
We assume you already have the bar, so now the only question left is what you will wear while training on it. Clothing also plays an important role in calisthenics. If you want to get off to a strong start, in the SMMASH store you will find T-shirts and rashguards as well as sports shirts that give you full freedom of movement with every rep. Feel free to shop, and if you have any additional questions about the range or choosing the right size, let us know - we will be happy to help.


